How to Maintain a Clean and Healthy Smile During Treatment

SmileRight • September 15, 2024
A man is brushing his teeth with a toothbrush.

Source: Dr. Marketing


Wearing metal braces is a crucial step toward attaining a straighter, healthier smile; however, keeping your teeth and braces clean during this treatment requires extra attention. Without adequate hygiene, food particles and plaque can easily become trapped in the brackets and wires, which may lead to problems such as tooth decay, gum disease, and discoloration.


At SmileRight in Houston, we are committed to helping you maintain a clean and healthy smile throughout your orthodontic journey, as this is vital for achieving the best possible results. In this blog post, we will share practical tips on how to effectively brush, floss, and care for your braces to ensure optimal oral hygiene during your treatment.


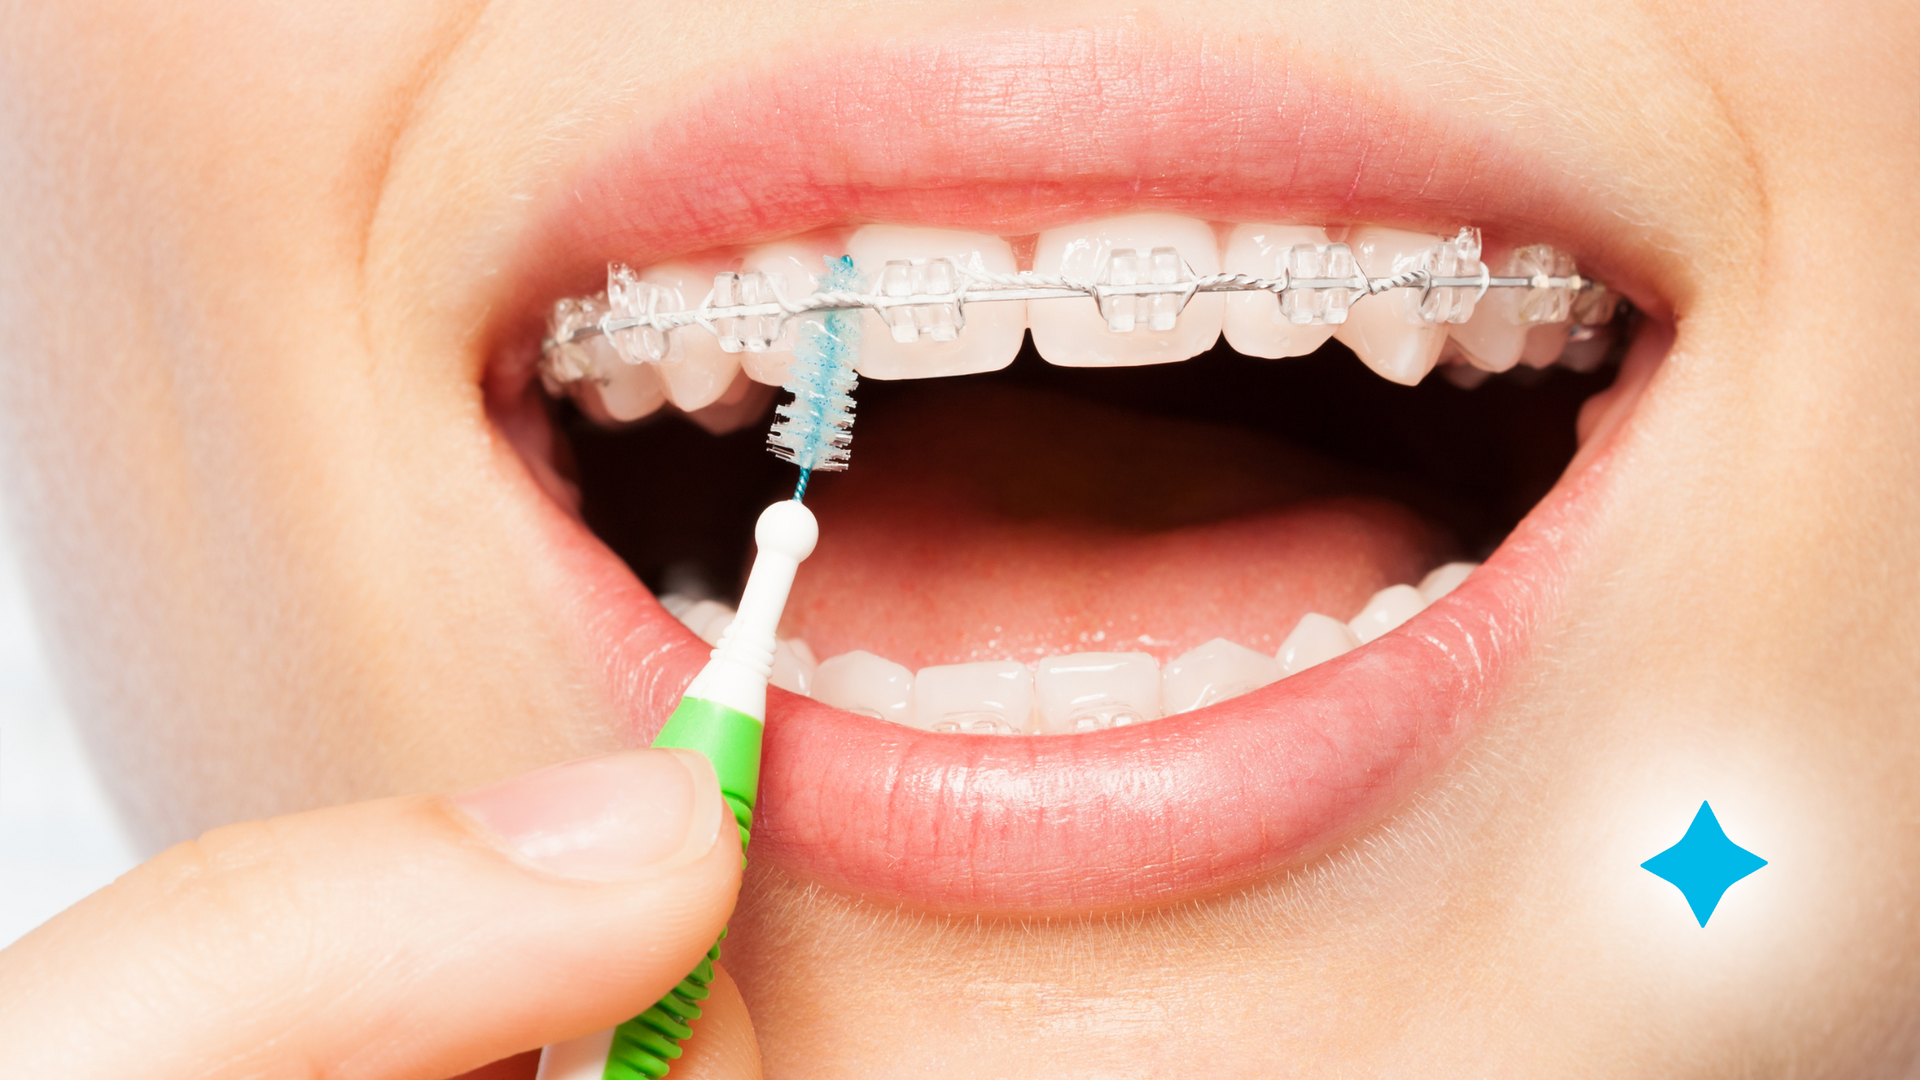
Brushing with Metal Braces

A woman with braces is brushing her teeth with an electric toothbrush.


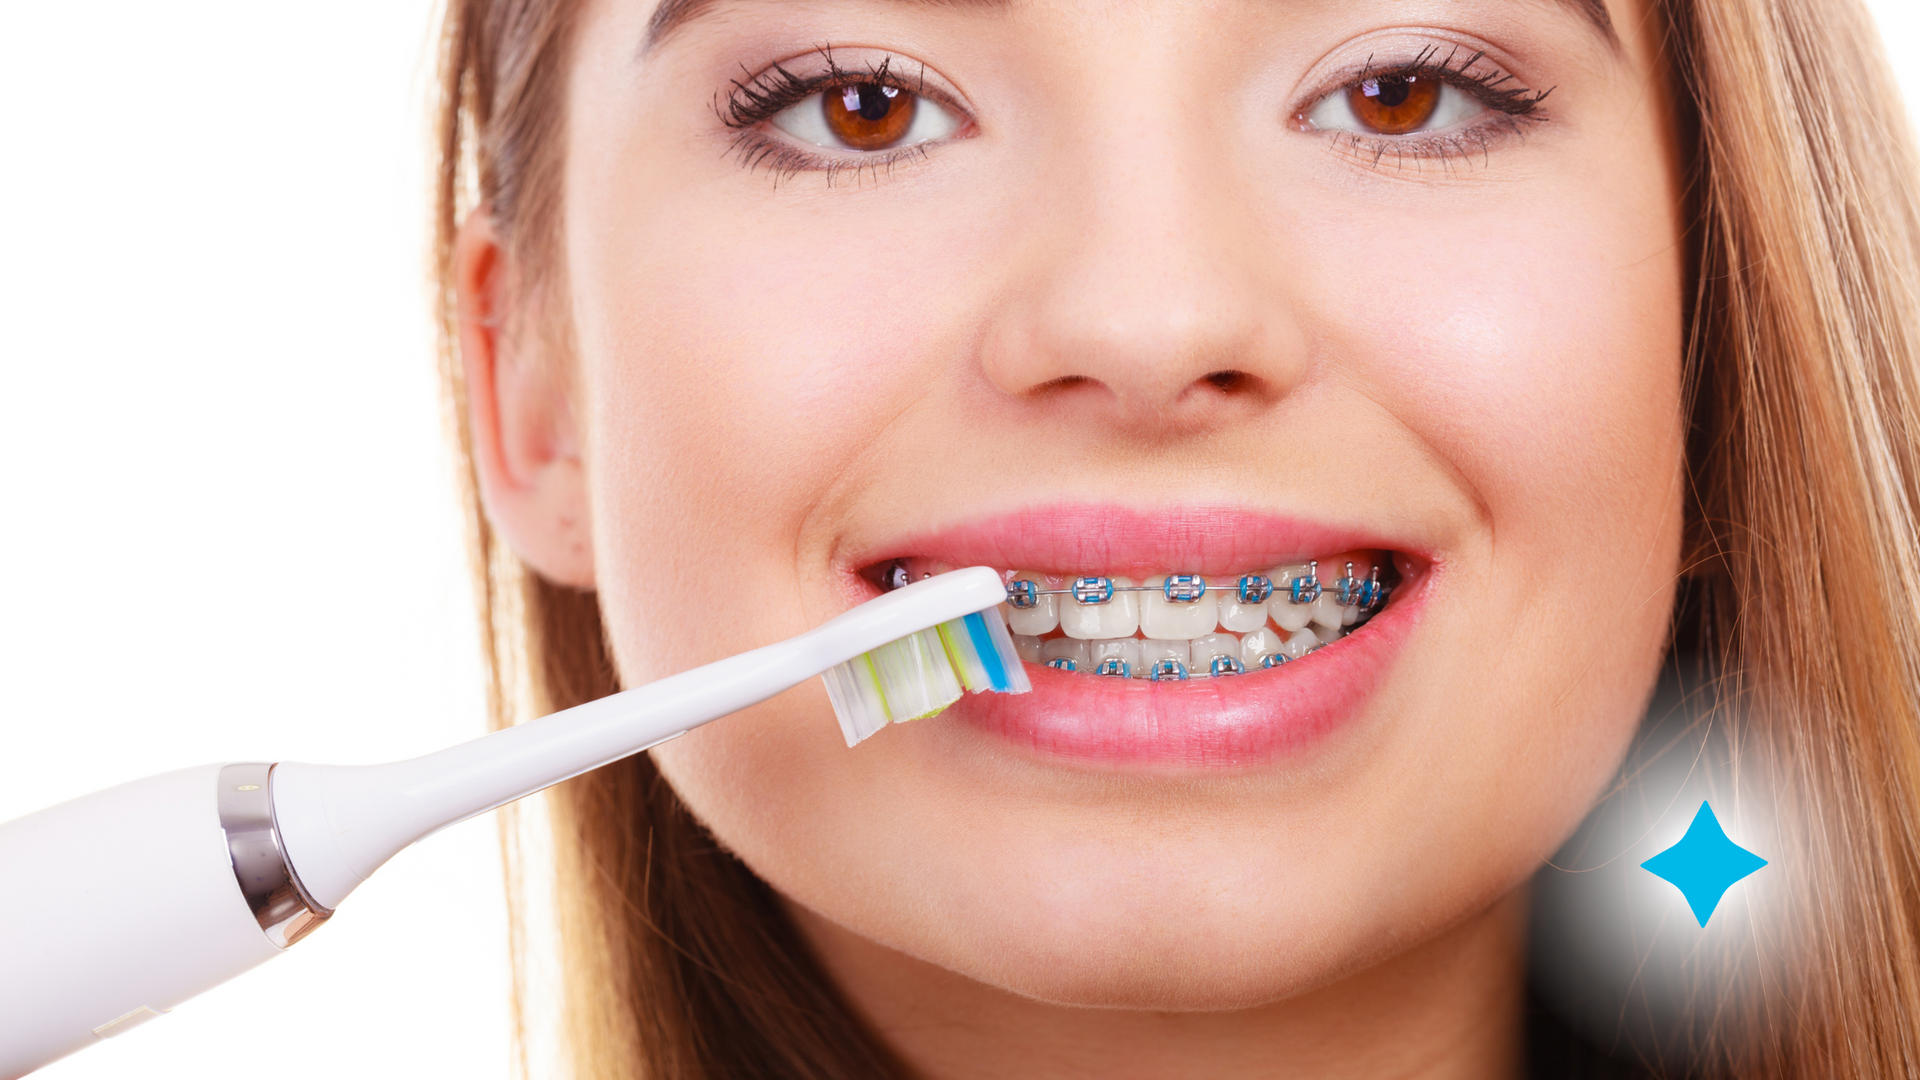
Brushing your teeth while wearing braces requires a little extra effort to ensure all areas around the brackets and wires are thoroughly cleaned. Plaque and food particles can easily build up around the hardware, making it essential to brush carefully and consistently.


Teeth Brushing Tips With Metal Braces


  • Brush After Every Meal: While it is generally recommended to brush twice a day, it is ideal to brush after every meal when you have braces. This helps remove food particles that can become trapped in the brackets and wires. If brushing after every meal isn’t feasible, rinsing your mouth with water can help in the meantime.
  • Use a Soft-Bristled Toothbrush: A soft-bristled toothbrush is gentle on your gums and helps you get into hard-to-reach areas. You can also opt for an orthodontic toothbrush with a special V-shaped design to clean around brackets more effectively.
  • Brush for Two Minutes: Make sure you are brushing for at least two minutes, paying close attention to the gum line, around each bracket, and the chewing surfaces of your teeth.
  • Angle Your Brush: Hold your toothbrush at a 45-degree angle to the gum line, and carefully brush above and below each bracket to ensure no food particles are left behind. You may need to tilt the brush at different angles to clean effectively around the wires.
  • Consider an Electric Toothbrush: An electric toothbrush can be particularly helpful for people with braces. The vibrating or rotating bristles can remove plaque more efficiently than manual brushing, making it easier to maintain a clean smile.


Flossing with Metal Braces

A woman is smiling while flossing her teeth and wearing braces on her teeth.


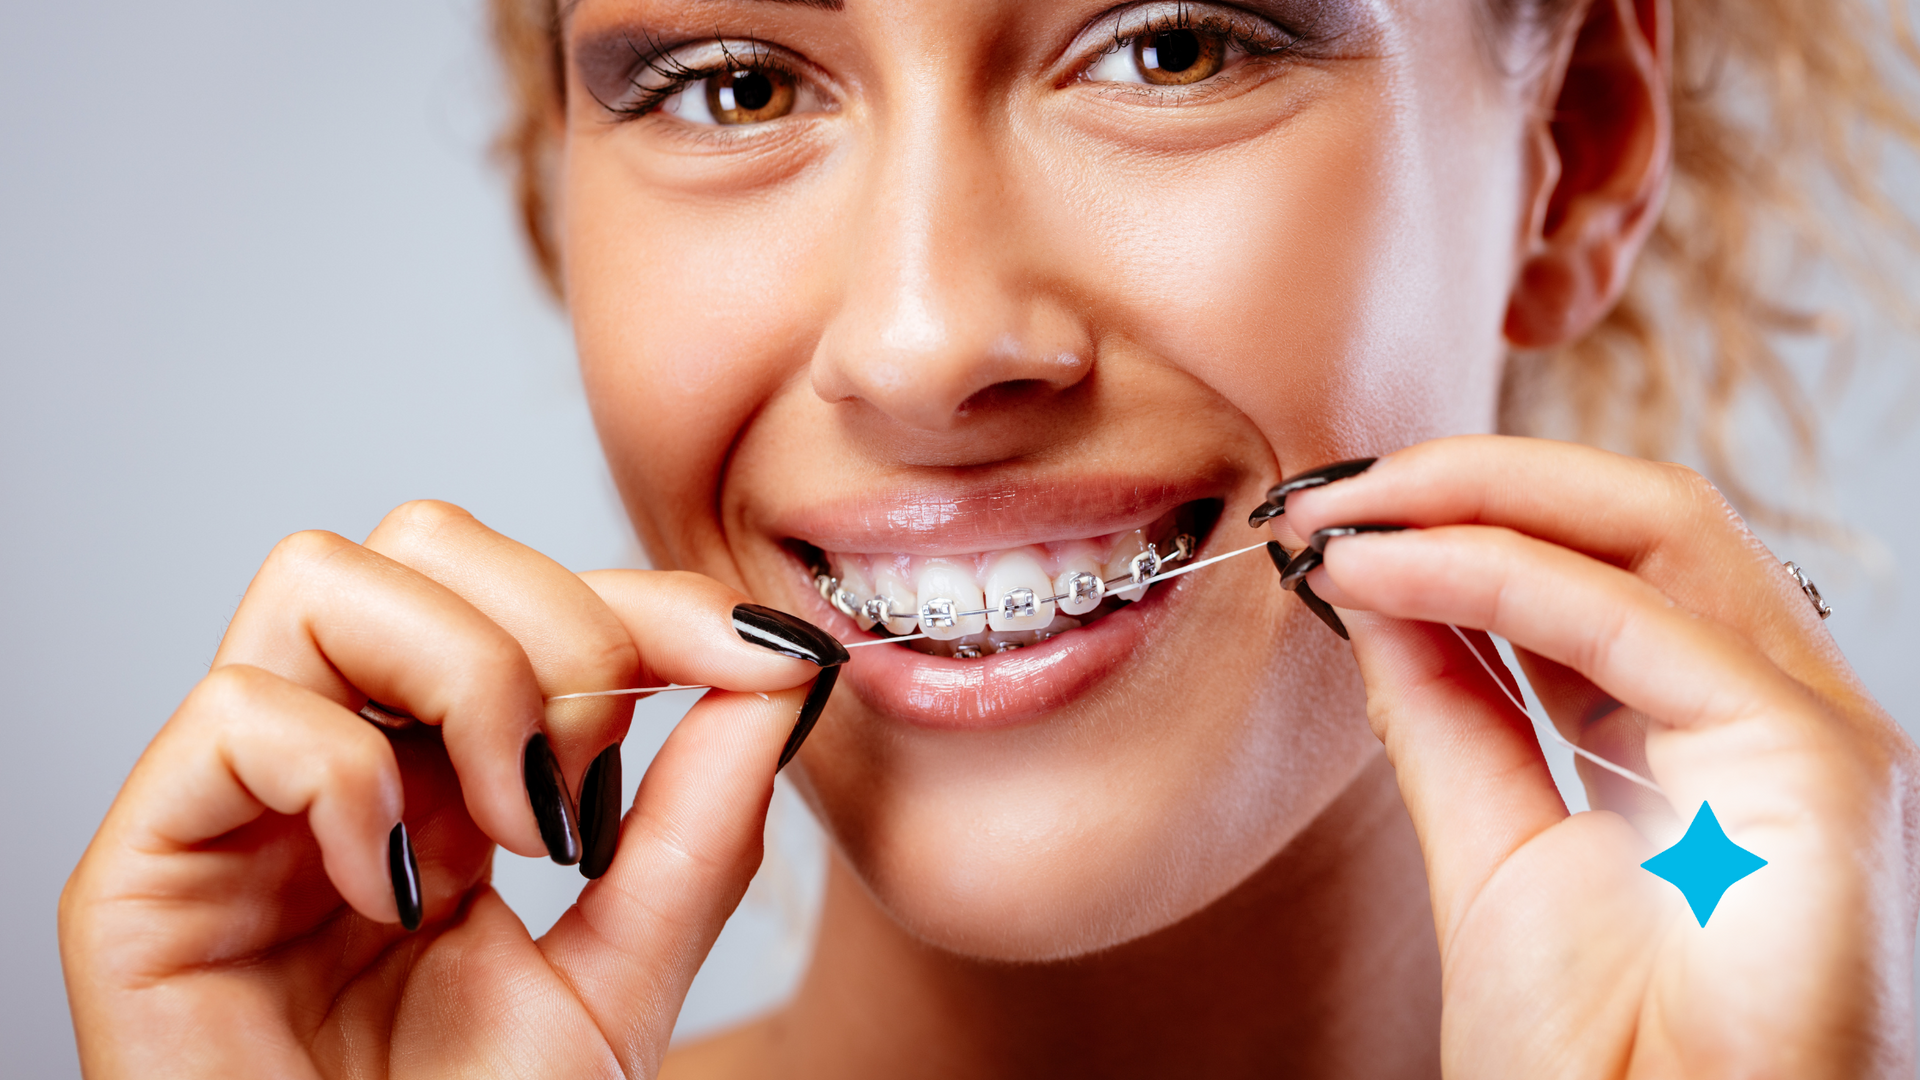
Flossing can be a little tricky when you have braces, but it’s just as important as brushing. Food and plaque can easily become trapped between your teeth, where your toothbrush can’t reach, making flossing a key part of your daily oral care routine.


Flossing Tips With Metal Braces


  • Use a Floss Threader: A floss threader is a small, flexible tool that helps you guide floss between your teeth and under the wires of your braces. It’s simple to use and makes it much easier to floss with braces. You can use regular dental floss with a floss threader or buy pre-threaded floss designed for braces.
  • Try Orthodontic Flossers: Orthodontic flossers are small, handheld devices that have a piece of floss attached to a pick. These flossers are designed specifically for braces and are convenient for getting into tight spaces around brackets and wires.
  • Floss Daily: Make sure to floss at least once a day, ideally before bed, to remove plaque and food particles that can build up throughout the day. Flossing consistently will help prevent gum inflammation and cavities.
  • Be Gentle: When flossing around your braces, it’s important to be gentle to avoid damaging the wires or irritating your gums. Guide the floss carefully between your teeth and around the brackets, taking your time to ensure thorough cleaning.


Rinsing with Mouthwash

A woman is holding a glass of mouthwash in her hand.


Using an antibacterial mouthwash can help keep your mouth clean and fresh, especially if you are unable to brush immediately after a meal. Mouthwash can reach areas that brushing and flossing might miss, reducing the risk of plaque buildup and gum disease.


Rinsing Tips


  • Use Fluoride Mouthwash: A fluoride mouthwash helps strengthen your enamel and protect your teeth from cavities, which is especially important when wearing braces. Look for a mouthwash with fluoride to boost your oral hygiene routine.
  • Rinse After Brushing: Swishing with mouthwash after brushing and flossing helps remove any remaining debris and leaves your mouth feeling clean and fresh. Be sure to follow the directions on the label, typically swishing for about 30 seconds.


Avoiding Foods That Can Damage Braces

Three cinnamon rolls are sitting on top of a pile of pecans.


Maintaining a healthy smile during braces treatment goes beyond just brushing and flossing. It is also important to be mindful of what you eat. Certain foods can damage your braces, which can slow down your treatment and lead to additional trips to the orthodontist for repairs.


Foods to Avoid While Wearing Metal Braces


  • Sticky Foods: Avoid foods like chewing gum, caramels, and taffy, as they can stick to your brackets and wires, making them difficult to clean and increasing the risk of damaging your braces.
  • Hard Foods: Hard foods like popcorn, nuts, hard candies, and ice can break or dislodge your brackets and wires. Be cautious when eating crunchy snacks, and consider cutting harder fruits and vegetables (like apples and carrots) into smaller, bite-sized pieces.
  • Sugary Foods and Drinks: Limit sugary snacks and beverages, such as candy, soda, and fruit juices. Sugar can lead to plaque buildup, cavities, and tooth decay, especially around the brackets, where it’s harder to clean.


At Home Care For Metal Braces


By avoiding foods that can harm your braces, you’ll reduce the risk of setbacks and keep your treatment on track.


Protecting Your Braces During Sports

A woman with braces on her teeth is smiling and holding a flower.


If you participate in sports, whether it is basketball, soccer, or any other activity that involves physical contact, it is crucial to protect your braces and teeth from potential injury. One of the most effective ways to achieve this is by wearing a mouthguard. A mouthguard acts as a protective cushion that absorbs shocks and distributes the force from any impact, helping to prevent damage to your braces, teeth, and gums. By using a mouthguard, you not only safeguard your dental work but also ensure that your overall oral health remains intact while you enjoy your favorite sports.


Attending Regular Orthodontic Appointments

A woman with braces is getting her teeth examined by a dentist.


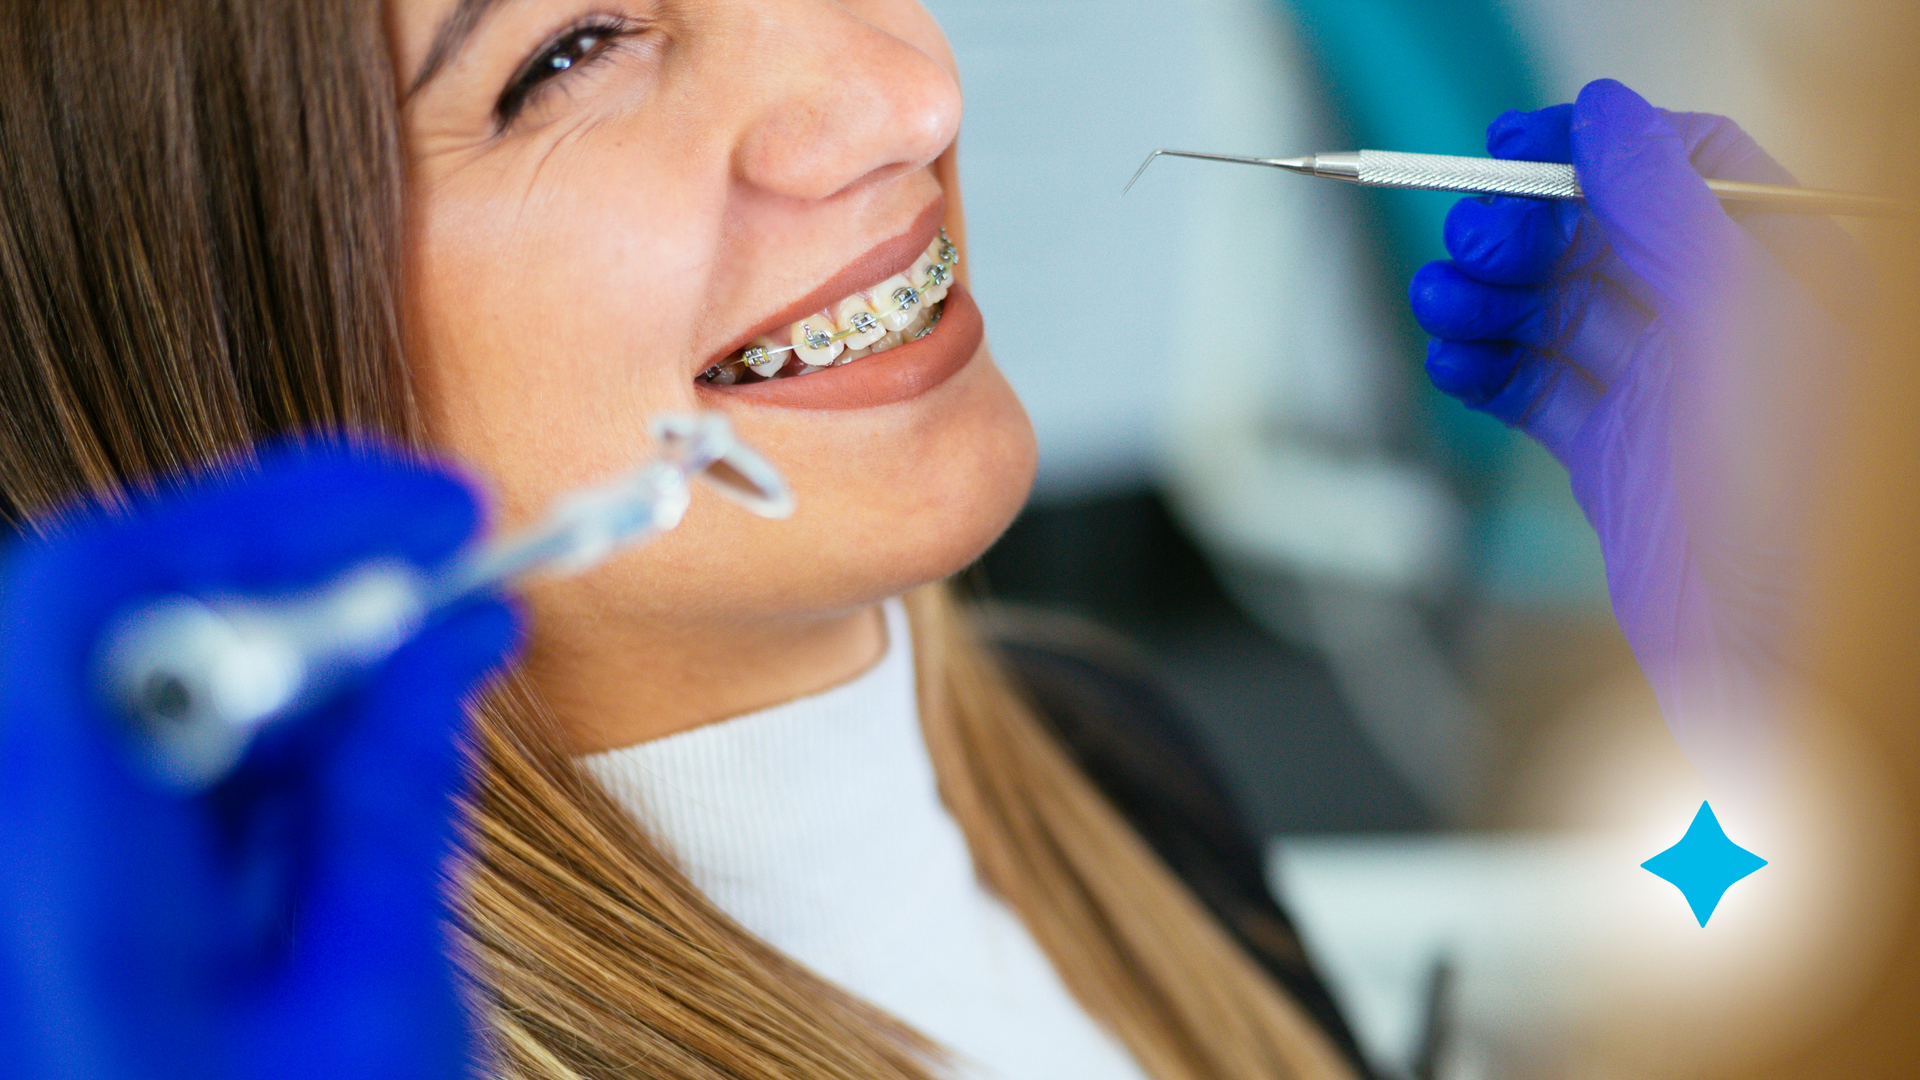
Regular checkups with our orthodontist are key to ensuring your braces are working effectively. These visits allow your orthodontist to adjust the wires, check the progress of your treatment, and ensure that your teeth are moving as expected.


Why Orthodontic Appointments Are Important


  • Adjustments: During your appointment, our orthodontist at SmileRight will adjust your braces to keep the pressure consistent on your teeth. This ensures that your teeth are moving toward their correct positions.
  • Monitoring Oral Health: Our orthodontist will also check for any issues, such as tooth decay or gum disease, that could impact your treatment. Regular appointments allow for early detection of potential problems, helping you maintain a healthy smile.
  • Stay on Track: Consistently attending your appointments ensures that your treatment stays on track and avoids unnecessary delays.


A Healthy Smile with Braces

A person with braces is brushing their teeth with an interdental brush.


Maintaining a clean and healthy smile during your braces treatment does not have to be complicated. With the right brushing and flossing techniques, a healthy diet, and regular orthodontic checkups, you can keep your teeth and braces in top shape throughout the treatment process. At SmileRight, we are committed to helping our patients achieve beautiful, healthy smiles with personalized care and guidance every step of the way.


If you have any questions about maintaining your braces or need to schedule your next appointment, contact SmileRight today at (281) 699-0234 or request an appointment online.


Let’s work together to keep your smile clean, healthy, and on track to perfection!


Appointment Request Call Us
What to expect at your first orthodontic appointment
By Edgar Padilla April 30, 2025
If you've recently scheduled your first orthodontic appointment at SmileRight—whether for yourself or your child—you may be feeling a mix of curiosity, anticipation, and maybe even a bit of nervousness. That’s completely normal. Orthodontic care is a significant step toward achieving a healthier, more confident smile. Knowing what to expect during your initial visit can help ease any anxiety and prepare you to make the most of your appointment. In this post, we’ll walk you through the typical stages of a first orthodontic visit, from the initial consultation to treatment recommendations and financial planning. Whether you're exploring braces or simply seeking professional advice, here’s what your first experience is likely to involve. 1. A Warm Welcome and Paperwork Your orthodontic journey starts at the front desk. When you arrive, a friendly receptionist or patient coordinator will greet you and ask you to complete some paperwork if you haven’t already done so online. This information typically includes: Basic contact information Medical and dental history Insurance details (if applicable) Consent forms for examination and x-rays Filling out this information helps the orthodontic team understand your health background, which is crucial in determining a safe and effective treatment plan. 2. Getting to Know You: The Consultation Once the paperwork is complete, you’ll be introduced to the orthodontic assistant or technician who will begin your consultation. The orthodontist wants to get a full picture of your oral health, so this first meeting is both a conversation and an evaluation. You’ll likely be asked questions such as: What are your main concerns about your teeth or bite? What are your goals for treatment? If the appointment is for a child, the orthodontist may also ask about habits like thumb-sucking or mouth-breathing, which can affect dental development. This is a great time to voice any questions or concerns you might have. Whether you're wondering about treatment options, duration, or lifestyle impacts (like eating or sports), don't hesitate to ask. 3. Diagnostic Records and Imaging After the initial discussion, the team will collect diagnostic records. These are essential for creating an accurate treatment plan tailored to your unique needs. Depending on the practice, this step may include: Digital X-rays: These give the orthodontist a clear view of your tooth roots, jawbones, and how your teeth are positioned. Photographs: Pictures of your teeth, bite, and facial profile help assess alignment and symmetry. These records serve as a baseline for planning and measuring progress throughout treatment. 4. The Clinical Exam Next, the orthodontist will perform a clinical exam. They will: Examine your teeth, gums, and bite Check for crowding, spacing, overbites, underbites, or crossbites Assess jaw alignment and overall oral health This hands-on evaluation, combined with your diagnostic records, allows the orthodontist to determine whether orthodontic treatment is needed and what type of treatment would be most effective. 5. Discussing Your Treatment Options Now that the orthodontist has all the necessary information, they’ll walk you through your diagnosis and potential treatment options. Depending on your case, these might include: Traditional metal braces: Durable and effective for a wide range of orthodontic issues. Ceramic (clear) braces: A more discreet alternative to metal braces. Your orthodontist will explain the pros and cons of each option, how long treatment might take, and what results you can expect. This discussion is tailored to your specific needs, so you’ll leave with a clear understanding of your recommended path forward. 6. Financial Planning and Insurance Review Once a treatment plan has been agreed upon, you’ll meet with the treatment coordinator or financial advisor to go over the costs. This step typically includes: Reviewing the total cost of treatment Discussing insurance coverage and benefits Exploring financing options or payment plans Many orthodontic practices offer flexible payment arrangements to make treatment more affordable. Be sure to ask about discounts for paying in full, family plans, or third-party financing partners. 7. Scheduling Your Next Steps If you decide to move forward with treatment, your next appointment may be scheduled immediately. Depending on your readiness and the type of treatment chosen, your first active treatment visit (such as getting braces) could be just days or weeks away. Some patients, especially children, may not need immediate treatment and might be placed in an observation phase, where the orthodontist monitors growth and development over time. 8. What to Bring and How to Prepare To ensure a smooth appointment, here’s a quick checklist of what to bring: Completed patient forms (if not submitted online) Insurance card and photo ID List of current medications and medical conditions A list of questions or concerns you may have It also helps to brush and floss beforehand so the orthodontist can get a clear look at your teeth. 9. Tips for a Successful First Visit Arrive 10–15 minutes early to complete any remaining paperwork. Bring a notebook or use your phone to jot down important information. Don’t worry if you feel nervous—orthodontic teams are used to helping patients feel at ease. Bring a friend or family member for support, especially if you’re a younger patient or just want someone to help remember the details. Final Thoughts Your first orthodontic appointment is the foundation for a journey that can improve your oral health, facial balance, and self-confidence. While it may seem like a lot of information at once, rest assured that you’re in capable hands. Orthodontists and their teams are dedicated to guiding you through the process step by step, ensuring you feel informed, empowered, and excited about your smile transformation. So take a deep breath, ask your questions, and get ready—because your journey to a healthier, more aligned smile is just beginning.
A woman is smiling and talking about early orthodontic treatment.
By Edgar Padilla April 17, 2025
As a parent, you want your child to grow up with confidence and a healthy smile. When it comes to orthodontic care, many parents associate braces with the teenage years. However, what many don’t realize is that early intervention, often called Phase 1 treatment, can significantly impact a child’s dental development and overall oral health. So what exactly is Phase 1 orthodontic treatment, and how do you know if your child needs it? Let’s dive into what early orthodontic treatment involves, the signs your child may benefit from it, and what you can expect during the process. What is Phase 1 Orthodontic Treatment? Phase 1 orthodontic treatment, also known as early interceptive treatment, is designed for children between the ages of 6 and 10—typically while they still have a mix of baby and permanent teeth. The goal of Phase 1 is not necessarily to achieve a perfectly straight smile immediately, but to correct developmental issues early before they become more serious or harder to treat in adolescence. It’s important to note that Phase 1 treatment is often followed by Phase 2 treatment later on—usually during the teenage years—once all the permanent teeth have come in. Phase 2 typically involves full braces or aligners to fine-tune the bite and alignment. Why Consider Early Treatment? The American Association of Orthodontists recommends that children have their first orthodontic evaluation by age 7. This doesn’t mean your child will automatically need braces at that age, but it allows an orthodontist to catch any emerging issues while the mouth and jaws are still developing. Early detection can prevent more complex problems down the road. Here are some benefits of early orthodontic treatment: - Guides jaw growth to help the upper and lower jaws develop in harmony - Corrects harmful oral habits such as thumb sucking or tongue thrusting - Improves appearance and boosts confidence - Makes room for incoming permanent teeth, reducing the chance of crowding - Prevents trauma to protruding front teeth - Reduces the need for tooth extraction or jaw surgery later Signs Your Child Might Need Phase 1 Braces Every child’s development is different, but certain signs may indicate the need for early orthodontic care. If your child is showing any of the following symptoms, it might be time for an orthodontic evaluation: Crowded or misplaced teeth If there’s not enough room in the mouth for all the permanent teeth to erupt properly, early intervention can help guide them into the correct position. Early or late loss of baby teeth If your child loses baby teeth much earlier or later than average, it can disrupt the timing of permanent teeth eruption and affect bite alignment. Crossbite, underbite, or overbite An abnormal bite pattern—where the upper and lower teeth don’t meet properly—can lead to jaw pain, tooth wear, and difficulty chewing. Protruding front teeth This can increase the risk of injury and affect speech and appearance. Thumb sucking beyond age 4 or 5 Prolonged thumb or finger sucking can cause teeth and jaw misalignment. Mouth breathing or snoring These could be signs of underlying issues with the jaw or palate that orthodontics might help address. Speech difficulties Some speech problems may be linked to the alignment of the teeth or jaw. If you’ve noticed any of these signs, a consultation with an orthodontist can provide clarity on whether Phase 1 treatment is appropriate. What Does Phase 1 Treatment Involve? Phase 1 treatment varies depending on the child’s specific needs. It might involve: - Partial braces (typically on the front teeth) - Palatal expanders to widen the upper jaw - Space maintainers to hold space for permanent teeth - Functional appliances to guide jaw development - Habit-breaking appliances for thumb sucking or tongue thrusting Treatment usually lasts 9–12 months, followed by a resting period during which the remaining permanent teeth are allowed to erupt naturally. After this, your child may need Phase 2 treatment to complete the alignment process. What Happens After Phase 1? After Phase 1, your orthodontist will monitor your child’s development through regular check-ups. Once all permanent teeth have come in—usually around age 11 or 12—a second evaluation will determine whether Phase 2 treatment is needed. Phase 2 often includes full braces to refine the alignment of teeth and finalize the bite. While Phase 1 lays the foundation, Phase 2 ensures long-term stability and aesthetics. Is Early Treatment Always Necessary? Not every child needs early orthodontic treatment. Some issues are best addressed once all permanent teeth have erupted. The purpose of an early evaluation is to determine the most effective treatment plan for your child—whether that’s early intervention, waiting until the teen years, or simply monitoring development. It’s also worth considering that Phase 1 and Phase 2 treatment together may increase the overall time and cost of orthodontic care. However, for children with specific developmental concerns, early treatment can simplify or even shorten the later treatment phase, and can prevent more serious (and costly) issues down the road. Final Thoughts Every child’s smile is unique, and so is their path to achieving a healthy bite and confident grin. Early orthodontic treatment isn’t right for everyone, but for children with developing alignment or jaw issues, Phase 1 braces can make a big difference. By addressing problems early, you can help your child avoid more complex treatments later—and give them a healthy foundation for a lifetime of smiles. If you’re unsure whether your child might benefit from early orthodontic treatment, scheduling an evaluation around age 7 is a great first step. The peace of mind that comes from knowing you’re on the right track is invaluable—and your child’s future smile will thank you for it.
Braces and sports : how to keep your smile safe
By Edgar Padilla April 2, 2025
Sports are a fantastic way to stay active, have fun, and build confidence, but if you wear braces, there are some additional considerations to keep your smile safe while playing. Whether you’re hitting the basketball court, cycling down the street, or kicking a soccer ball, the risk of injury to your mouth and braces is real. However, with a few precautions, you can protect your braces and your smile without sacrificing your love for sports. In this blog post, we’ll discuss the best strategies to keep your braces safe during sports activities, including the importance of protective gear, specific tips for different types of sports, and how to care for your braces after an injury. 1. Why Are Braces at Risk in Sports? Braces are designed to straighten teeth over time, and this requires gentle but constant pressure on your teeth. However, when playing sports, especially contact or high-impact activities, your mouth is more vulnerable to injury. A sudden impact to the face, a fall, or even a loose ball can cause damage to both your braces and your teeth, which can delay the treatment process or even cause long-term dental issues. Injuries like cuts to the lips and gums, broken brackets, or displaced wires can not only cause pain but also interfere with the progress of your orthodontic treatment. That’s why it’s essential to take extra precautions to protect your braces while engaging in sports. 2. Use the Right Protective Gear The most effective way to protect your braces during sports is by wearing the right protective gear. The most important item to invest in is a mouthguard. A mouthguard is a soft, cushioned device worn over your teeth to prevent direct impact during sports. Not only does it protect your teeth from injury, but it also helps protect your braces from damage caused by forceful impacts. Types of Mouthguards: - Stock Mouthguards: These are pre-formed and ready to use, but they may not offer the best fit. - Boil-and-Bite Mouthguards: These are softened in boiling water, then fitted to your teeth by biting down. They offer a more custom fit than stock mouthguards. - Custom-Fitted Mouthguards: The best option for braces wearers, these are made by a dentist or orthodontist to perfectly fit your teeth and braces. They provide the best protection and comfort, although they can be more expensive. Mouthguards should always be worn during contact sports such as football, basketball, hockey, and lacrosse, as well as any sport where there’s a risk of falling or injury, like skateboarding or cycling. They are equally important for non-contact sports, like volleyball, where an accidental elbow or ball to the face can still cause injury. Most mouthguards can be purchased at places like Academy, Walmart, or Dick's Sporting Goods! 3. Be Mindful of Specific Sports Different types of sports come with different risks for those with braces. Here are some tips for protecting your smile based on the sport you play. Contact Sports (Football, Basketball, Rugby, etc.): - Always wear a mouthguard designed for braces. These sports come with a higher risk of head-on collisions or accidental contact, and a mouthguard is essential. - Consider wearing additional protective gear like face masks or helmets with a built-in chin guard if your sport allows for it. - Avoid making contact with opponents using your mouth or face. Keep your head up and practice safe, controlled movements. Individual Sports (Tennis, Track, Gymnastics, etc.): - Even though individual sports are less likely to involve body-to-body contact, there’s still a risk of injury, especially if you fall or collide with equipment. A mouthguard is still a good idea. - In gymnastics or martial arts, a fall can put significant stress on your mouth and teeth. Always be cautious with your landings and movements. Cycling and Skateboarding: - Protect your smile by wearing a mouthguard and a helmet. A fall or collision with another rider or object could damage your braces or teeth. - In skateboarding or cycling, it’s especially important to maintain proper balance and body control to reduce the risk of falling. Water Sports (Swimming, Water Polo, etc.) - Water sports generally pose a lower risk of injury to braces, but if you’re playing an active water sport like water polo, you should still wear a mouthguard. - Be mindful of the chlorine in swimming pools, as it can sometimes cause discoloration or damage to braces if not cleaned properly. Be sure to rinse your mouth and braces after swimming. Keep Up with Your Orthodontic Appointments Regular visits to your orthodontist are key to ensuring your braces are functioning properly and that your smile remains on track. These appointments are an opportunity for your orthodontist to make adjustments, check for any damage, and ensure everything is healing properly. If you’re participating in sports while wearing braces, it’s especially important to inform your orthodontist of your activity level. They might recommend adjustments, such as switching to a different type of bracket, to minimize the risk of injury or discomfort while playing sports. Conclusion Braces don’t have to hold you back from enjoying sports, but it’s essential to take the right precautions to keep your smile safe. Wearing the appropriate protective gear, like a mouthguard, being mindful of the risks associated with specific sports, and following good orthodontic care practices will help you avoid unnecessary injuries while keeping your treatment on track. Remember, sports are about having fun and staying active. With these tips, you can protect your braces and continue enjoying the activities you love. Stay safe, and keep smiling!
More Posts